
Common Label Augmentations
Create common augmentations for shipping labels.
About common label augmentations
Your organization may need to customize labels to enable minor changes or insertions on carrier labels. Shipium advises using caution when augmenting labels as you'll likely need to obtain approval from any carriers whose labels you're augmenting. This document provides a few basics about Zebra Programming Language (ZPL) printing and details about common use cases and examples for creating label augmentations.
You can find information about configuring your label augmentations in the Shipium Console in the Label Configuration documentation.
Label AugmentationsIf you haven't already looked at Label Configuration , specifically the section "Maintain and make changes to label properties and augmentations", then start there to get additional label background. Likewise, Label Customization maybe be useful for additional context.
ZPL basics
- Don't know ZPL? Download Zebra's ZPL tutorial and read through at least the first few pages to get some basics.
- Here's a quick and easy ZPL Command listing. You might need to look up details after that, but this is a good starting place to quickly find what's available.
- Need to get into command details? No problem. Take a look at the Official Zebra ZPL Guide, which has more details than you will ever need.
When you add ZPL to a label augmentation, you DO NOT include^XAor ^XZ. Those are handled by our template engine.
ZPL anti-patterns
The most important thing to know about ZPL commands is that some of them can impact other labels. For that reason, be careful not to include anything in a label that permanently changes settings on the printer. As an example, the ^PO command sets label orientations. This is handy if you need to print a label (or a portion of a label) inverted. However, as the documentation states, Once the ^PO command is sent, the setting is retained until another ^PO command is received or the printer is turned off. This means if you don't re-set the direction of printing, EVERY FUTURE LABEL WILL ALSO BE INVERTED. Thus, if you don't want this type of setting applied to all future labels, you'll need to make sure that you undo anything permanent.
Augmentations cannot suppress or remove existing carrier ZPL commands. A label augmentation adds ZPL instructions to a label — it does not modify or strip commands that are already present in the carrier's label template. For example, if a carrier label includes a ^GFA graphic command (embedded image hex data), adding an augmentation that visually covers that area will render correctly on screen and on most modern printers, but the underlying ^GFA data remains in the ZPL stream and will still be processed by the printer. On legacy or memory-constrained hardware, this can cause print failures even though the augmentation appears correct. If you need to suppress or remove commands from a carrier's base ZPL, that requires an engineering-level change and cannot be accomplished through label augmentation alone.
If you're not sure, you can check the ZPL documentation to understand the scope of a given command.
Accessing shipment data in label augmentations
When building a label augmentation, you can inject dynamic data from several sources using Shipium's variable access syntax. Template variables follow the format $!{prefix.fieldName}, where the prefix corresponds to a response object returned by the Carrier and Method Selection & Shipment Label API and the field name matches the exact camelCase field name in that object.
$! vs $Use
$!{variableName}in production — this returns the value if it exists, or leaves the field empty if it does not. Use${variableName}during testing — if the variable name is not found, it prints the literal string${variableName}on the label, which helps you catch typos or incorrect field references.
The template engine supports four data sources:
Prefix | Maps to | Example |
|---|---|---|
| Top-level shipment fields passed at shipment creation |
|
| Carrier label response data, available after label generation |
|
| Carrier selection response data |
|
| Parameters passed at label creation time |
|
How to find the right variable nameThe field path in the API response is the template variable to use. For example, if the response contains
carrierSelection.operationalCost, use$!{shipment.carrierSelection.operationalCost}in your augmentation. Note that carrier selection fields require ashipment.prefix in template variables even though they appear ascarrierSelection.*in the API response — for example, use$!{shipment.carrierSelection.operationalCost}rather than$!{carrierSelection.operationalCost}.Field names are generally camelCase. If a variable isn't rendering as expected, confirm that the prefix and field name match the response exactly.
Request data vs. response dataThe
shipmentprefix maps to data your organization passes in when creating the shipment, including carrier selection data accessible viashipment.carrierSelection. ThecarrierLabelprefix maps to data returned by the carrier after label generation — these values are not available until after label creation.
Shipment data
Use the shipment prefix to access top-level fields from the shipment request. Common fields are included in the following table.
| Field | Variable | Example |
|---|---|---|
| Fulfillment context | shipment.fulfillmentContext | ^FO50,600^A0,28,28^FD$!{shipment.fulfillmentContext}^FS |
| Purchase order identifier | shipment.purchaseOrderIdentifier | ^FO50,600^A0,28,28^FD$!{shipment.purchaseOrderIdentifier}^FS |
| Reference identifier | shipment.referenceIdentifier | ^FO50,640^A0,28,28^FD$!{shipment.referenceIdentifier}^FS |
| Partner shipment ID | shipment.partnerShipmentId | ^FO50,680^A0,28,28^FD$!{shipment.partnerShipmentId}^FS |
| Ship option | shipment.shipOption | ^FO50,720^A0,28,28^FD$!{shipment.shipOption}^FS |
| Delivery note | shipment.deliveryNote | ^FO50,760^A0,28,28^FD$!{shipment.deliveryNote}^FS |
Note that referenceIdentifier supports up to five values (referenceIdentifier through referenceIdentifier5).
Carrier label data
Use the carrierLabel prefix to access fields from the carrier's label response. These values are not available until after label creation. Common fields are included in the following table.
| Field | Variable | Example |
|---|---|---|
| Tracking ID | carrierLabel.trackingId | ^FO60,215^BY3^BCN,130,N,N,N,N^FD$!{carrierLabel.trackingId}^FS |
| Tracking link | carrierLabel.trackingLink | ^FO50,600^A0,28,28^FD$!{carrierLabel.trackingLink}^FS |
| Shipium tracking ID | carrierLabel.shipiumTrackingId | ^FO50,640^A0,28,28^FD$!{carrierLabel.shipiumTrackingId}^FS |
| Carrier | carrierLabel.carrier | ^FO50,680^A0,28,28^FD$!{carrierLabel.carrier}^FS |
| Service method name | carrierLabel.carrierServiceName | ^FO50,720^A0,28,28^FD$!{carrierLabel.carrierServiceName}^FS |
| Estimated delivery date | carrierLabel.estimatedDeliveryDate | ^FO50,760^A0,28,28^FD$!{carrierLabel.estimatedDeliveryDate}^FS |
| Package scannable ID | carrierLabel.packageScannableId | ^FO50,800^A0,28,28^FD$!{carrierLabel.packageScannableId}^FS |
Carrier selection data
Use the carrierSelection prefix to access fields from the carrier selection response. Common fields are included in the following table.
Field | Variable | Example |
|---|---|---|
Operational cost |
|
|
Total cost |
|
|
Carrier |
|
|
Service method name |
|
|
Carrier selection date/time |
|
|
Common augmentations
Some of the most common label augmentations are described below.
Direction / Orientation
A common task is to flip the vertical orientation of the label so that it is printed in the desired direction for either a user station or a printer that is part of a material handling system (MHE), like a tamper or other print-and-apply (PNA) equipment. ZPL provides two ways to do this, which you should generally do as a pre augmentation:
^PON. Force "normal" orientation^POI. Force "inverted" orientation
Position of elements
In order to position elements in ZPL, you generally wrap them in an ^FO...^FS pair, which sets the top-left position of the next command to be produced.
The format of the pair is ^FO<x>,<y>,<alignment> ... ^FS:
<x>is the x position starting from 0 on the leftmost position.<y>is the y position starting from 0 on the topmost position.<alignment>can be generally ignored and defaults the currently set value configured via^FWor defaulted for the label.
Fonts and text
The ^A command can be used to set the default font for a specific field. It should appear just before the field data command: ^FD.
The format of the command is ^A<fontName>,<height>,<width>.
- Examples.
^A0,50,50or^A0,50(specifying only height)
The ^FD command is the field data command and is mostly used to provide text in the context of another command.
- Example.
^FDI am some text
Sample
^XA
^FO50,50^A0,60^FDFont using 0, 60^FS
^FO50,200^AA,40^FDFont using A, 40^FS
^CFA,30,25
^FO50,350^AA,30,25^FDFont using CF A, 30, 25^FS
^XZ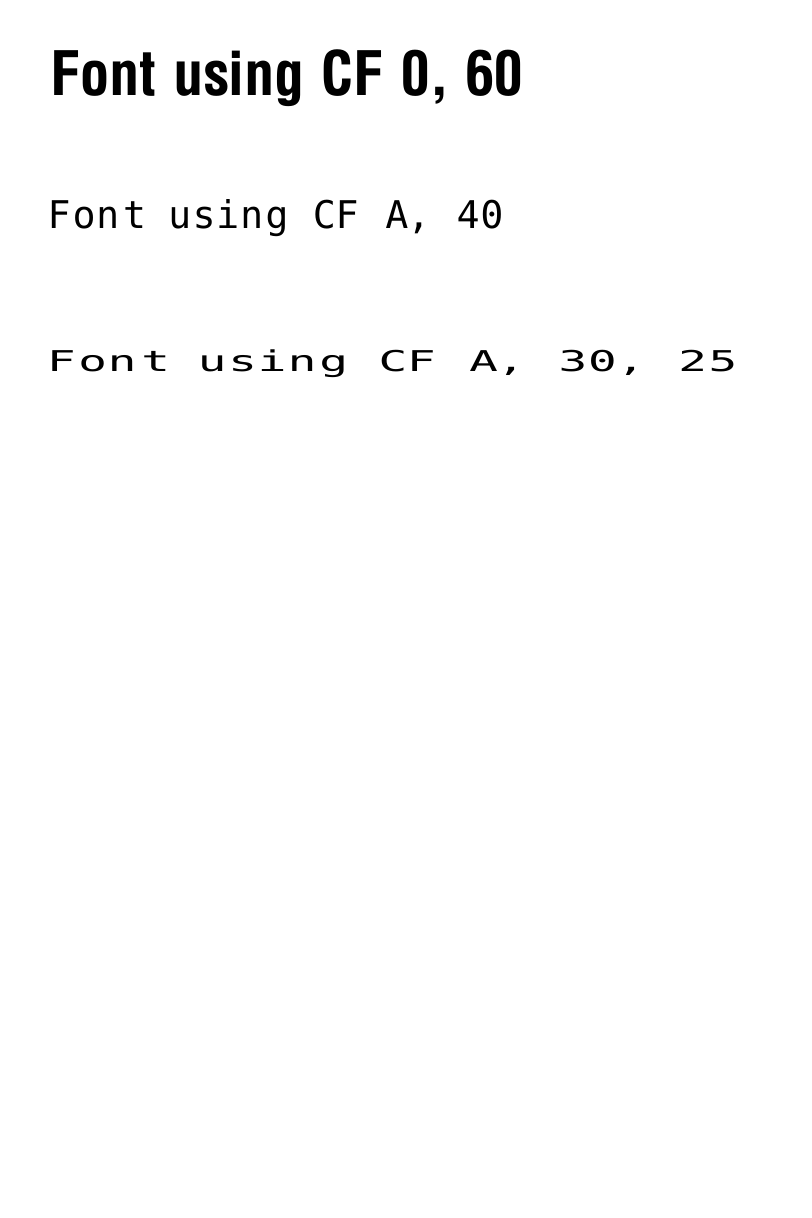
^CF command sample
Shapes
ZPL provides several shapes that you can include in a label, but the most common ones are lines, rectangles, and ellipses.
Lines
Horizontal lines can be produced using the ^GB graphical box command and providing a width value as long as the line you want to create and a length value of 0 (zero). Combined with a line thickness value, you can then produce a horizontal line at a position and length of your choosing.
The format of the command is ^GB.
- Vertical line example.
^F0100,50^GBO,400,4^FS
Sample
^XA
^FO50,50^GB400,0,4,^FS
^FO50,150^GB400,0,10,^FS
^FO50,250^GB400,0,20,^FS
^FO50,350^GBO,400,4^FS
^FO150,350^GBO,400,10^FS
^FO250,350^GBO,400,20^FS
^XZ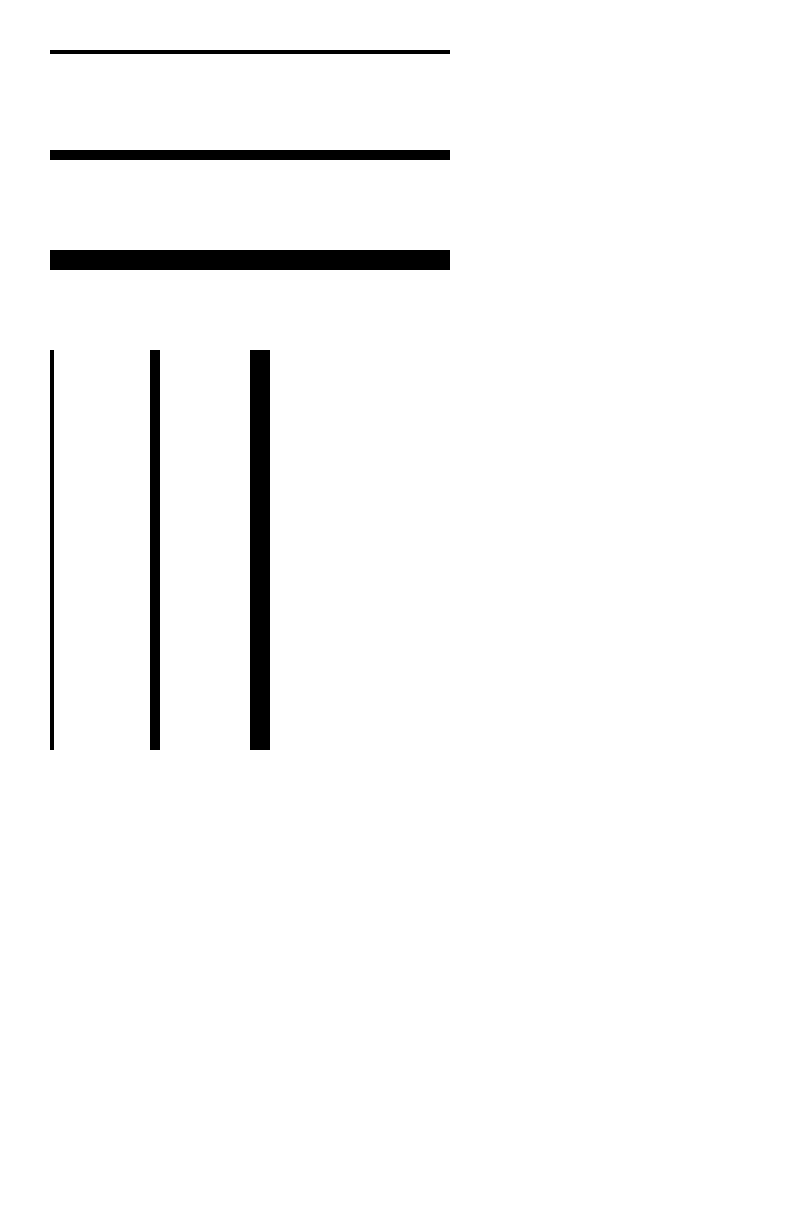
Horizontal and vertical line sample
- Basic box.
^FO50,200^GB200,200,2^FS
Barcodes
Supported barcode types
Shipium supports various barcode formats through ZPL commands:
- Code 128 (
^BC). Most common for shipping applications - Code 39 (
^B3). Alphanumeric barcode - QR code (
^BQ). 2D barcode for complex data - Data matrix (
^BX). Compact 2D barcode
Basic barcode configuration
Code 128 barcode example
^XA
^FO50,50
^BY2,3,100
^BCN,100,Y,N,N
^FD1234567890^FS
^XZ
Parameters explained:
^FO50,50. Position (X=50, Y=50 dots from origin)^BY2,3,100. Bar width=2, ratio=3, height=100 dots^BCN. Code 128, normal orientation^FD1234567890^FS. Barcode data
Dynamic barcode with shipment data
^XA
^FO100,200
^BY3,2,80
^BCN,80,Y,N,N
^FD$!{carrierLabel.trackingId}^FS
^XZ
QR code configuration
Basic QR code
^XA
^FO200,100
^BQN,2,5
^FDLA,Shipment #$!{shipment.partnerShipmentId} - $!{carrierLabel.trackingId}^FS
^XZ
Parameters explained:
^BQN,2,5. QR Code, normal orientation, model 2, magnification 5- Data can include shipment variables for dynamic content.
Advanced barcode examples
Barcode with human-readable text
^XA
^FO100,150
^BY2,3,60
^BCN,60,Y,N,N
^FD$!{carrierLabel.trackingId}^FS
^FO100,220
^A0N,25,25
^FD$!{carrierLabel.trackingId}^FS
^XZ
Multiple barcodes on same label
^XA
^FO50,100
^BY2,3,50
^BCN,50,Y,N,N
^FD$!{carrierLabel.trackingId}^FS
^FO300,100
^BY2,3,50
^BCN,50,Y,N,N
^FD$!{shipment.referenceIdentifier}^FS
^XZ
Images
You can embed an image that has been appropriately encoded.
Using images to cover carrier label elementsIf you're adding an image augmentation to visually cover or replace a carrier-provided element on the label (such as a logo), be aware that this approach overlays content visually but does not remove the carrier's original ZPL commands from the label stream. The printer will still process those underlying commands. On most modern Zebra hardware this is fine, but on older or memory-constrained printers, large graphic commands in the base carrier label (such as
^GFAimage hex data) can cause print failures regardless of what the augmentation adds on top. If you encounter silent print failures on legacy hardware after adding an image augmentation, contact your Shipium team member.
Image requirements
Before adding images to labels, you should ensure they meet these specifications:
- Format. Monochrome bitmap (1-bit black and white)
- Resolution. 203 DPI for standard printers, 300 DPI for high-resolution
- File size. Keep under 1MB for optimal performance
- Dimensions. Consider label size (e.g., 4x6 inch = 812x1218 dots at 203 DPI)
Image preparation
- Convert to monochrome. Use image editing software to convert to 1-bit bitmap.
- Resize appropriately. Match your label dimensions and desired placement.
- Save as BMP. Ensure proper format for ZPL conversion.
Logo configuration
Basic logo placement
^XA
^FO50,50
^GFA,2048,2048,32,
[Base64 encoded image data]
^FS
^XZ
Company logo example
^XA
^FO400,50
^GFA,1024,1024,16,
001FF800,003FFC00,007FFE00,00FFFF00,01FFFF80,03FFFFC0,07FFFFE0,0FFFFFF0,
1FFFFFF8,3FFFFFFC,7FFFFFFE,FFFFFFFF,FFFFFFFF,FFFFFFFF,7FFFFFFE,3FFFFFFC,
1FFFFFF8,0FFFFFF0,07FFFFE0,03FFFFC0,01FFFF80,00FFFF00,007FFE00,003FFC00,
001FF800,000FF000,0007E000,0003C000,00018000,00000000,00000000,00000000,
^FS
^XZ
Advanced image examples
Logo with text overlay
^XA
^FO400,50
^GFA,512,512,8,
[Logo bitmap data]
^FS
^FO420,120
^A0N,20,20
^FDYour Company Name^FS
^XZ
Conditional logo display
^XA
^FO350,50
^GFA,1024,1024,16,
[Logo data]
^FS
^FO350,150
^A0N,15,15
^FDPriority Shipment^FS
^XZ
Resources
Your Shipium team member is available to help along the way. However, you might find these resources helpful: