
Tenants
Configure your organization's tenants within the Shipium Console.
About tenants
Within Shipium's ecommerce shipping platform, tenant refers to a customer on whose behalf your organization provides shipping services. For example, if your organization contracts with Customer A to ship their products to fulfill their customers' orders, Customer A is your tenant.
Why you might use tenants with Shipium
If your organization engages with tenants, or individual shippers, to transport goods on their behalf via your carrier relationships, you may want to configure settings for each of your tenants, for a subset of your tenants, or for all your tenants at once. Within Shipium's Tenants feature, you can configure specific rulesets for your tenants to automate functionality for less hands-on management for your organization.
This document guides you through the steps to configure your organization's tenants. To start, you’ll need to access the Shipium Console.
Use tenant configuration for a return address
Your organization may wish to configure a return address for your tenant(s). A return address is not the same as a customer return address.
- For a return address, in the case of an undeliverable package (for any reason), the package would be returned to the sender's address (the destination of the package return).
- For a customer return address, a return address label is included in the package and is available to a partner's customer to return an unwanted or damaged product.
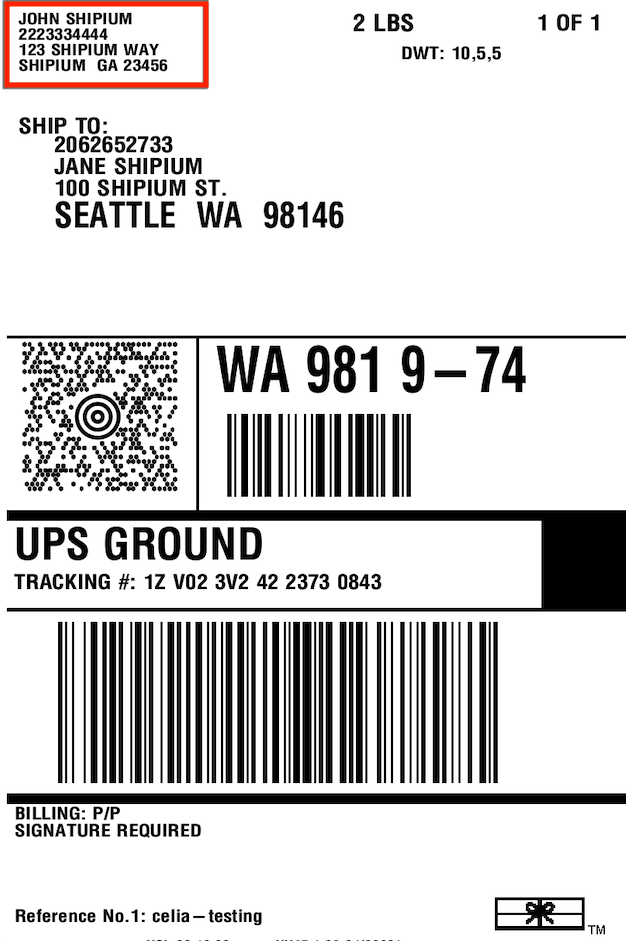
You can configure a tenant return address in the Shipium Console by setting up an address for your tenant, which typically prints in the upper left corner of the shipping label.
How the return address works in Shipium's platform
Your organization can configure a return address in multiple places within the Shipium platform. However, we've established an hierarchy that ensures retrieval of the most accurate return address.
- Tenant. The tenant is the first place Shipium searches for a return address. Shipium will search for a return address that your organization has specified for the origin from which the shipment is leaving. If your organization doesn't use tenants in the Shipium system, you should start with theCarrier Account. To configure the return address at the tenant level, follow the instructions in the Steps to Configure Your Tenant section.
- Carrier Account. The carrier account is the second place Shipium searches for a return address. Some carriers require a return address; in those cases, you can configure those carrier addresses in the Shipium Console. Once in the navigation pane, select Configure and then Fulfillment Configuration to access Carrier Configuration and then Carrier Accounts.
- Partner. Similar to the option to add a return address when configuring a tenant within the Shipium Console, Shipium soon will offer this configuration ability at the partner level for partners who use the Tenants feature.
- Origin Ship-From Address. If Tenant, Carrier Account, or Partner is not configured for a return address, Shipium will use the address of the origin for the return address. You can configure your organization's fulfillment center address in the Shipium Console. Once in the navigation pane, select Configure and then Fulfillment Configuration to access Fulfillment Center Configuration and then Origins.
General steps and requirements for each tenant configuration
- Access the Shipium Console
- Configure your organization's tenants using the following information:
- Unique identifier
- Name
- Description
- Tax Identification #
- Tenant Address
- Tenant Contact
Once you've configured one of your organization's tenants, you can update those tenant settings at any time in the Shipium Console.
Steps to configure your tenant
Alternative workflow instructions for configuring a tenantYou can find instructions for setting up a tenant within the suggested fulfillment contexts workflow in the Tenant Details section of the documentation. You also may follow the guidance in this document to set up a tenant within the fulfillment configuration workflow.
Once in the Shipium Console, follow these instructions to configure your organization's tenant(s):
-
In the navigation pane at left, navigate to Configure, and then Fulfillment Configuration.
-
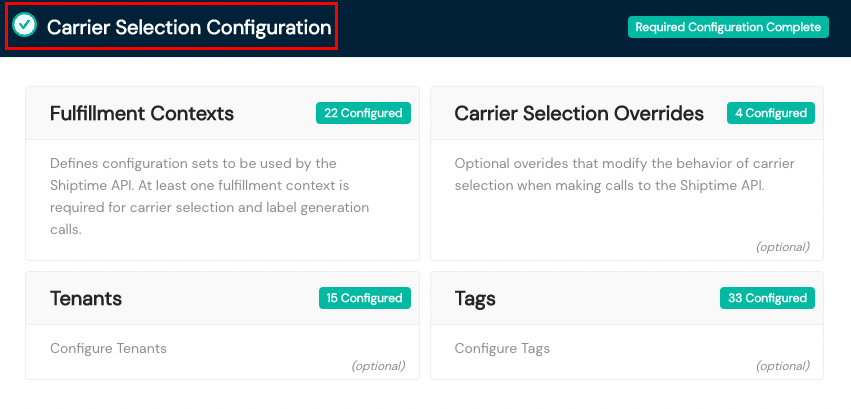
Scroll to the Carrier Selection Configuration section.
-
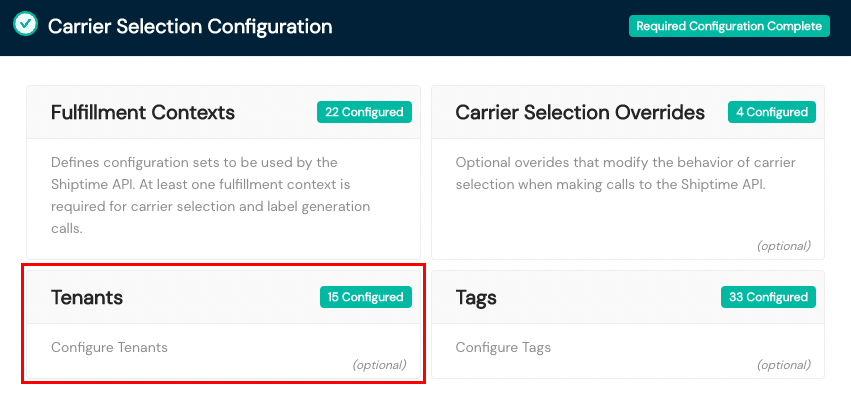
Select the Tenants card within Carrier Selection Configuration.
-
Within the Tenants screen, select the + Add Tenant button at the top left directly under Configuration Home / Tenants.
-
In the Create Tenant Workflow screen, you will populate seven data fields, five of which are required:
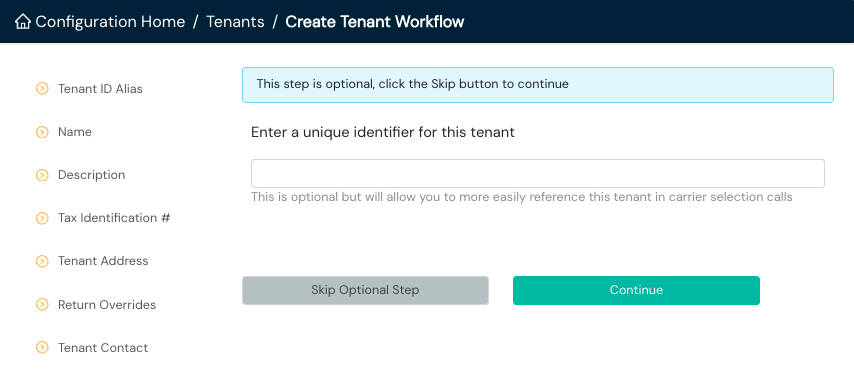
- Tenant ID Alias (optional). Entering a unique identifier for your tenant is optional but will enable you to more easily reference this tenant in carrier selection calls. The ID you pass in your API calls must match this ID exactly; ID values in the Shipium platform are case sensitive. If you choose to skip this step, select the Skip Optional Step button to advance to the next field. Otherwise, enter the unique identifier and select the Continue button.
- Name (required). Provide a name for your tenant, and select the Continue button.
- Description (required). Provide a brief textual description for your tenant, and select the Continue button.
- Tax Identification # (optional). Entering a tax identification number, or employee identification number (EIN), for your tenant is optional but will enable you to more easily reference this tenant in carrier selection calls. If you choose to skip this step, select the Skip Optional Step button to advance to the next field. Otherwise, enter the tax identification number and select the Continue button.
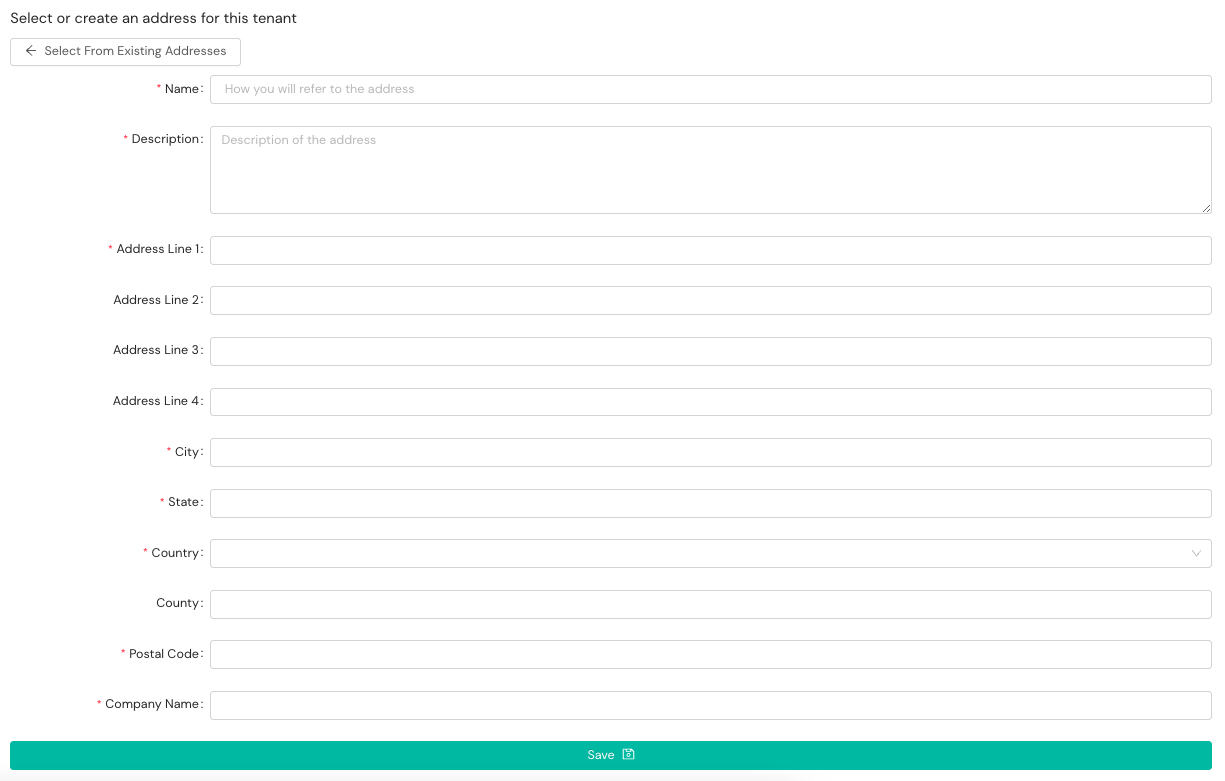
- Tenant Address (required). To add an address for your tenant, you have two options.
a. Select an existing address from the dropdown menu.
b. Add a new address for the tenant. If you select this option, a screen with multiple data fields will appear for you to add the new address.
- Return Overrides (required). Select Yes or No from the dropdown menu to indicate if you have any tenant return address overrides. When present, a tenant return address will override the normal return address configured for the specified origin.
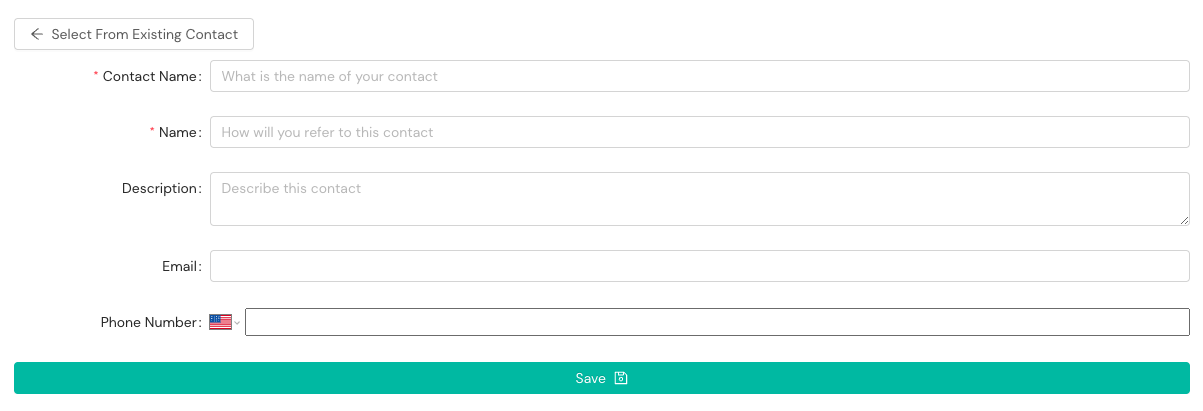
- Tenant Contact (required). To select a contact for your tenant, you have two options.
a. Select an existing contact from the dropdown menu.
b. Add a new contact for the tenant. If you select this option, a screen with empty data fields will appear for you to add the new contact.
How will I know I've successfully configured my organization's tenant?When you refresh your Shipium Console screen at the Configuration Home / Tenants level, you should be able to view any and all tenants you've configured.
Resources
Your Shipium team member is available to help along the way. However, you might find these resources helpful: