
UPS
Ensure your UPS account is registered and verified.
Shipping with UPS
To ship using UPS service methods, you'll first need to configure your account in the Shipium Console. Instructions for doing so are included in this document. Optionally, you can add insurance to a package when shipping with UPS. This page also includes instructions for declaring a value for packages.
UPS's service methods and their identifiers are listed on the Supported Carriers page.
International shipping with UPS
In addition to other customs requirements, UPS recommends including an email address for both the shipper and recipient for international shipments. You can include this information in the shipmentParameters or multiParcelShipmentParameters of your API call as the shipFromAddress.emailAddress and destinationAddress.emailAddress.
UPS item descriptions must be detailedWhen shipping internationally with UPS, item descriptions provided in
customsInfo.customsItems.commodityDescriptionmust be meaningful product descriptions. UPS does not accept SKUs, part numbers, or other reference codes as valid item descriptions and may reject commercial invoices that contain them.Use descriptive language that accurately identifies the goods, such as "cotton crew-neck t-shirt" rather than "SKU-12345".
Configure your UPS account with Shipium
Setting up a UPS account in Shipium is a two-part process: first you create the carrier account, then you complete UPS account registration to authorize Shipium to access your UPS account via OAuth.
Using UPS Hundredweight?If you use UPS Hundredweight shipping, we recommend maintaining a separate UPS account dedicated to Hundredweight to avoid tracking number conflicts with your standard UPS shipments. See our Hundredweight documentation for complete configuration requirements and best practices.
Step 1. Create a UPS carrier account
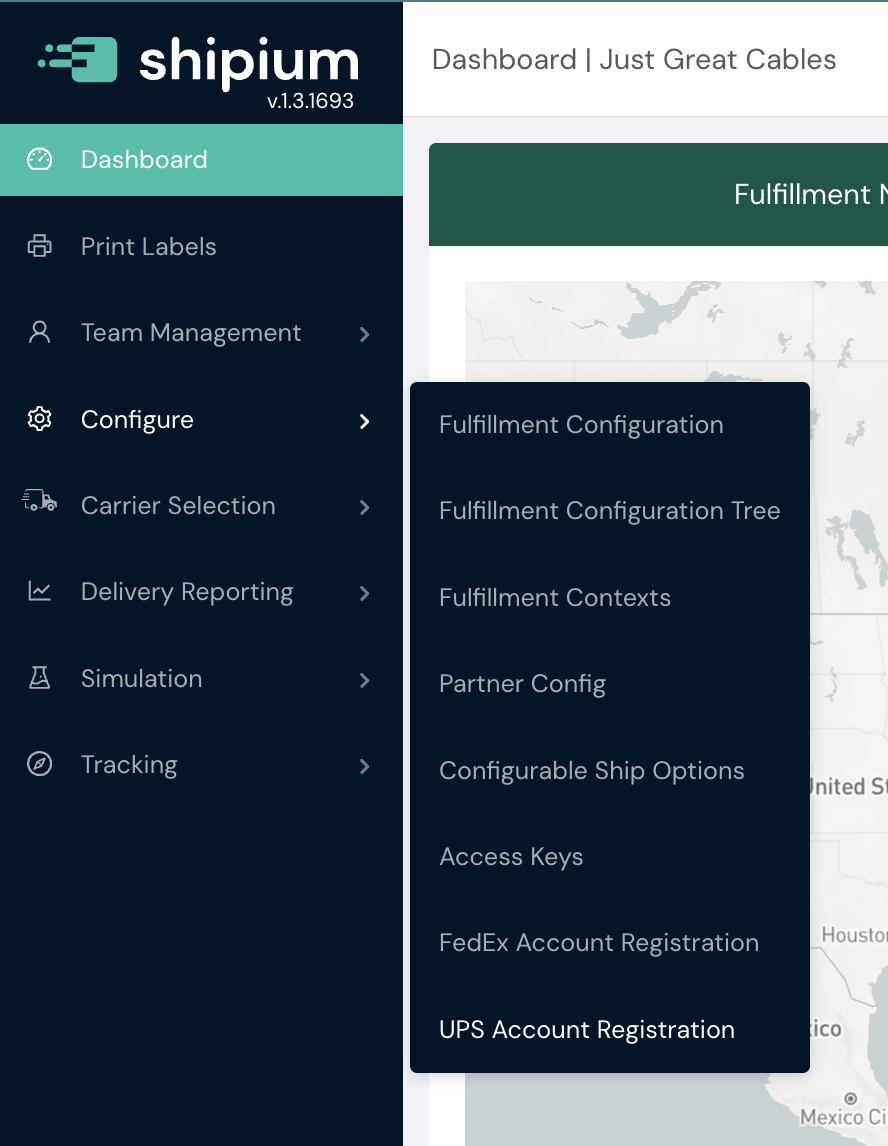
To begin, navigate to Configure > Fulfillment Contexts and select the fulfillment context where you want to add UPS. Go to the Carrier Contracts tab and select Add Contract. Choose United Parcel Service (UPS) as the carrier and provide a contract name.
Note: You can also create and manage carrier accounts independently via Configure > Fulfillment Configuration. The Fulfillment Context workflow is suggested; however, you can find more information about the Fulfillment Configuration workflow in Configure | Fulfillment Configuration.
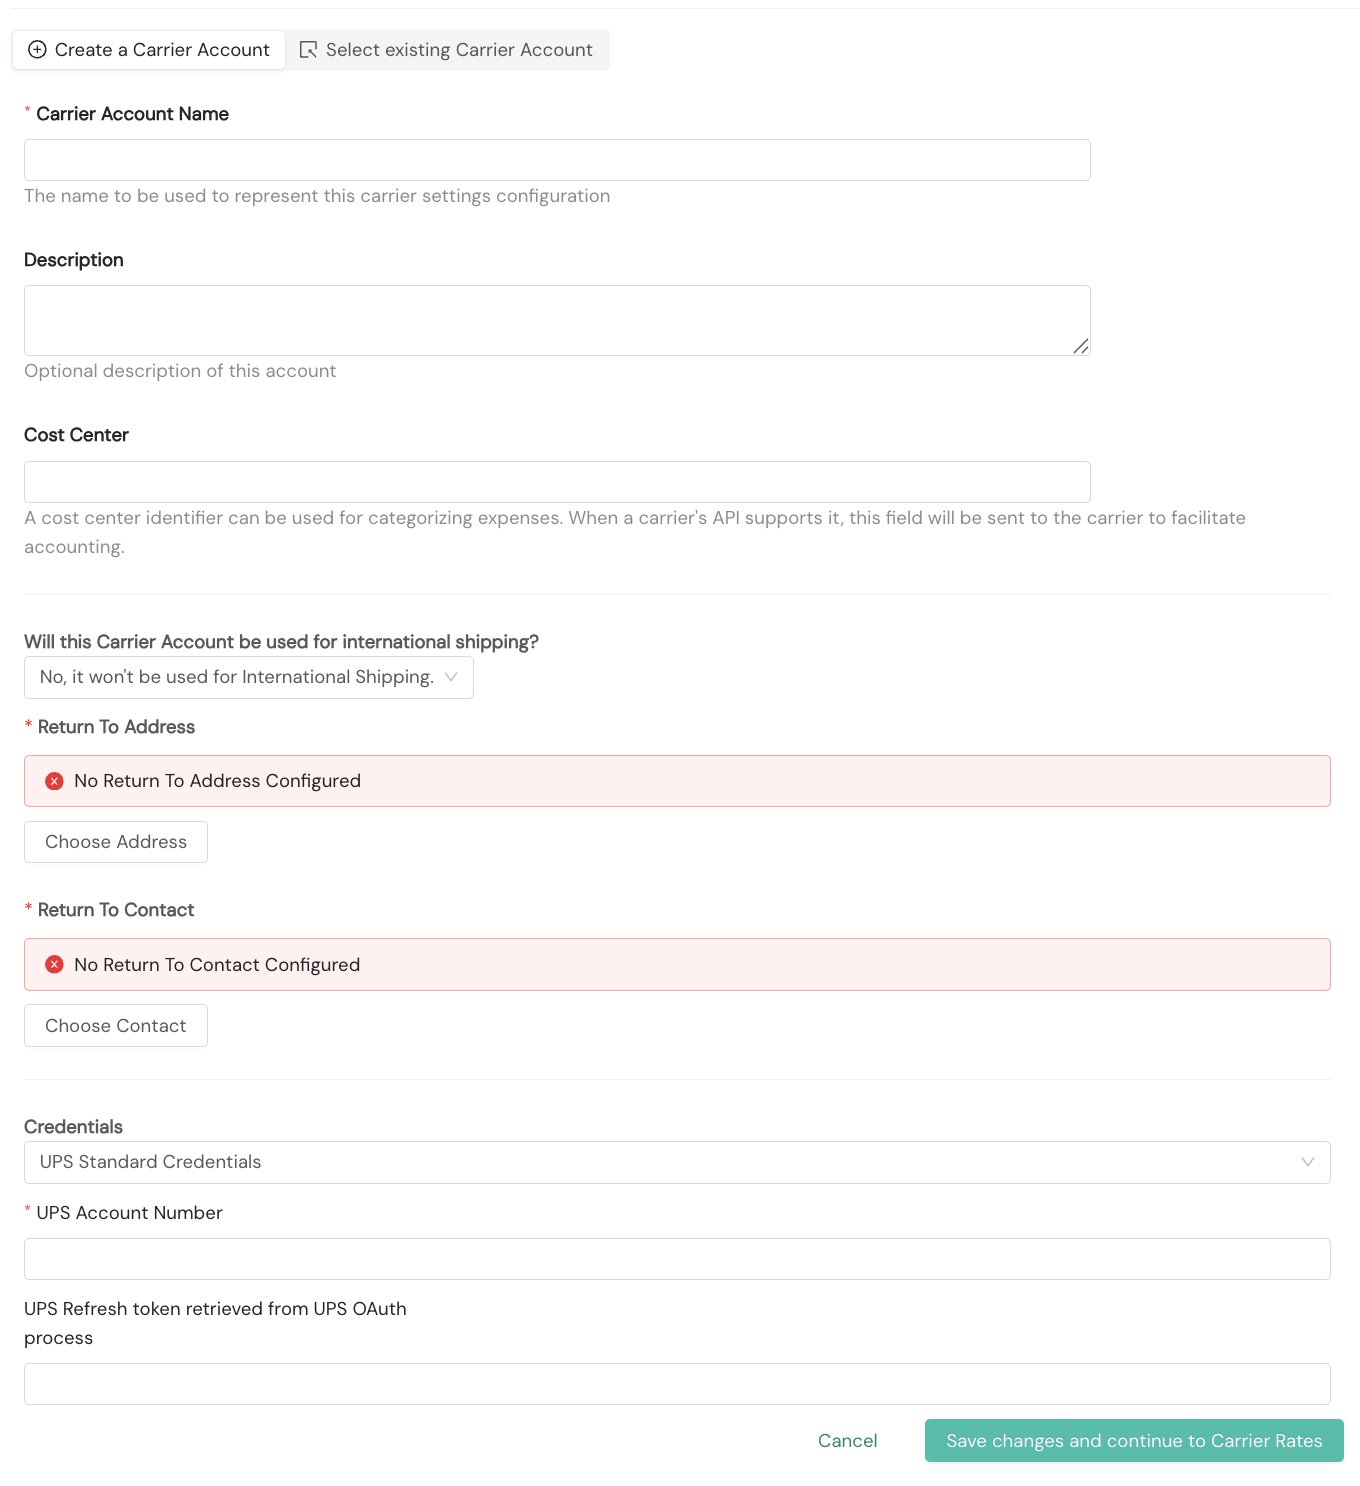
The workflow will guide you through contract details, carrier settings, carrier account, and carrier rates. You can find guidance for other steps in the Carrier Contracts documentation. This step provides instructions for creating the carrier account. You'll provide the following:
- Carrier Account Name. Required. A name to represent this carrier account configuration
- Description. Optional. A description your organization will use to refer to the account
- Cost Center. Optional. A field you can sent to carriers in API calls, when supported
- International Shipping. Optional. A dropdown selection for domestic or international shipping for the account; the default is No.
- Return To Address. Required. The address where undeliverable packages will be returned
- Return To Contact. Required. The point of contact for return shipments
- UPS Account Number. Required. Your UPS account number
- UPS Refresh token retrieved from UPS OAuth process. This field is auto-populated after you complete UPS account registration in Step 2. You do not need to enter a value here manually.
Once saved, your UPS carrier account will display a status of Not Connected until you complete account registration in Step 2.
Step 2. Complete UPS account registration
To authorize Shipium to access your UPS account, navigate to Configure > UPS Account Registration.
You'll see a table listing all UPS carrier accounts configured for your organization, each displaying a registration status. Locate the account you created in Step 1 and select Generate Registration Link in the Actions column. The account status will change to Pending.

A registration link and its expiration date (typically 30 days from generation) will appear in the Registration Detail column.

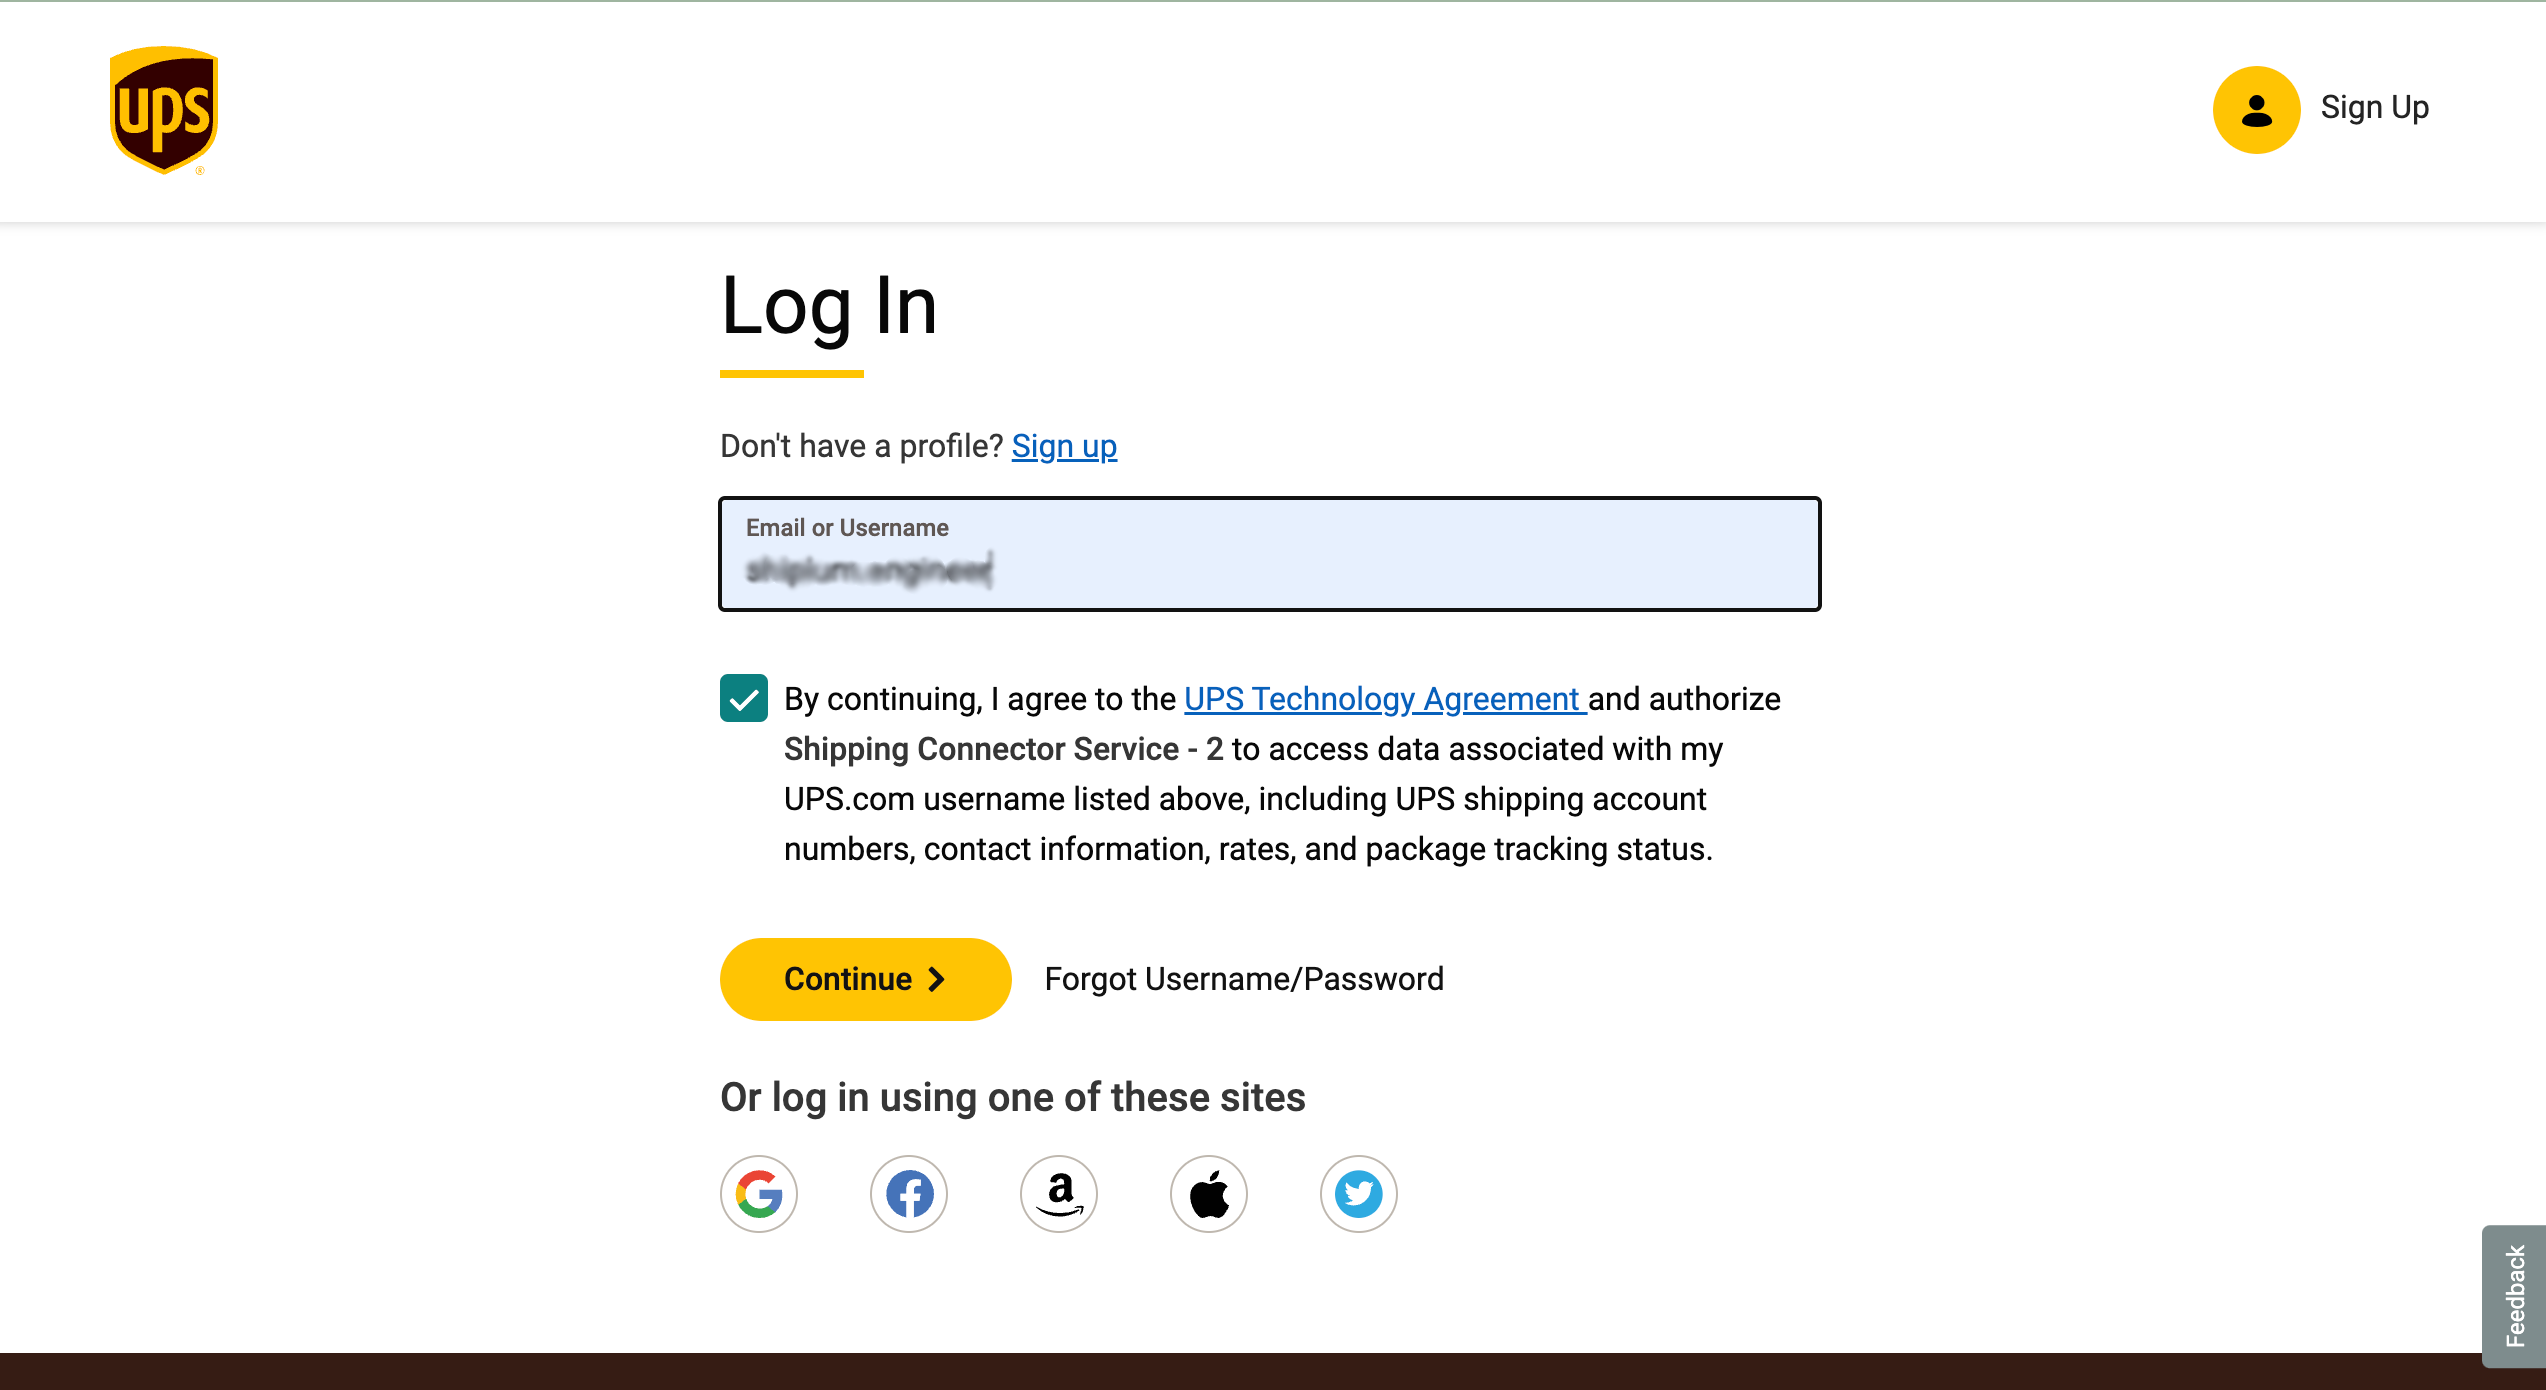
Copy the registration link and open it in your browser. You'll be directed to log in to your UPS account and verify registration. You'll need to check the box indicating that you agree to the UPS Technology Agreement and authorize Shipping Connector Service to access your UPS account before logging in.
Once authorization is complete, you'll be redirected to a Shipium confirmation page. The page will confirm that your registration was successful and prompt you to close the browser tab.
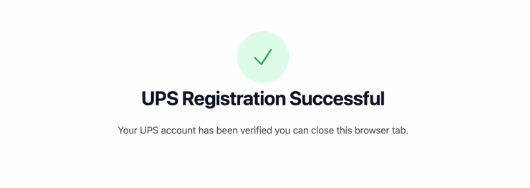
The OAuth refresh token will be automatically applied to your carrier account credentials, and the account status will update to Connected with a Registration Verified indicator in the Actions column.

If your registration link expires before you complete the process, the account status will show as Expired. Select Regenerate Registration Link to generate a new link and restart the process.
Important: Password changes affect linked accountsIf your UPS.com account password is changed or reset, all UPS accounts linked in the Shipium platform using that UPS.com login will be invalidated. The affected accounts will show an Error status in the Console. To restore functionality, you'll need to re-link the affected UPS accounts by selecting Regenerate Registration Link and repeating the registration process described above.
UPS authorized users
A UPS authorized user is any employee that is internally authorized by your organization to manage UPS login credentials.
To confirm if you're an authorized user, you first will need to navigate to UPS.com and log in to your account. Once you're logged into UPS, you'll click on your profile icon and then select Accounts and Payments from the dropdown menu.
If you are an authorized user, you'll see the account number listed under My Accounts and Payment Methods.
Shipping options
Dangerous goods fees
When shipping dangerous goods (DG) with UPS, fees are calculated differently for domestic and international shipments.
- Domestic DG shipments. Fees are charged as a flat rate per package, regardless of how many packages are in the shipment.
- International DG shipments. Fees are calculated as the greater of per-shipment fee or per-package fee. For multi-package international DG shipments, this means the fee structure that results in the higher charge will apply.
Declared value for packages
When shipping with UPS, you may optionally declare a value for the package being shipped. To declare a package value, you'll include the optional fields in the table below as part of the shipmentParameters in your API call.
| Request field | Details |
|---|---|
totalDeclaredValue.declaredValue | Type: Number (float) Example: 500Description: The value to be passed through as the total monetary amount of the declared value for the package. This is what will be reimbursed if the package is damaged. If the declared value exceeds the carrier's free threshold, there may be a surcharge for passing a declared value. |
totalDeclaredValue.currencyCode | Type: String Example: usdDescription: The currency code for the declared value |
A snippet of the JSON request for the API call with the required fields is included. This example is for a single-parcel shipment. The request fields for a multi-parcel shipment would be included in multiParcelShipmentParameters.
{
"shipmentParameters": {

   "totalDeclaredValue": {
        "declaredValue": 5000,
        "currencyCode": "usd",
 ...
     }
}
Hold at location
You may opt to designate a shipment as "hold at location", or HAL, if you'd like to have a package held for pickup at a UPS location nearby rather than having it delivered to an address. To flag a package as HAL, you'll need to include the optional fields in the table below as part of the labelParameters in your API call.
Conditional fields
| Request field | Details |
|---|---|
holdAtLocation.useHoldAtLocation | Type: Boolean Values: true or falseCondition: Required to designate a package as "hold at location" Description: If true, this indicates that the shipper wishes to have the package held at a UPS location nearby for pickup rather than having it delivered. |
Optional fields
| Request field | Details |
|---|---|
holdAtLocation.holdAtLocationId | Type: String Example: USA 123Description: An optional identifier your organization can include to reference the package being held at location |
A snippet of the JSON request for the API call with the hold at location fields is included.
{
"labelParameters": {

   "holdAtLocation": {
        "useHoldAtLocation": true,
        "holdAtLocationId": "USA 123",
 ...
     }
}
FAQ
Q: What if I don't already have a UPS account?
A: You can create a new UPS account and follow the guidance in this document once you have a UPS account.
Q: Does Shipium hold a copy of our credentials once entered?
A: No, Shipium does not have access to your credentials. When you use them in the process, you are logging directly into a UPS.com webpage.
Q: What if I don't know my UPS credentials?
A: Shipium recommends that the authorized user or parcel leader contact their UPS sales representative with their list of UPS account numbers.
Q: Why is the UPS account upgrade required?
A: UPS launched its OAuth 2.0 security model for all APIs to enhance the overall security of its applications, with the existing API security model set for deprecation. All UPS shipping accounts must be authorized and follow the OAuth 2.0 protocol.
Resources
Your Shipium team member is available to help along the way. However, you might find these resources helpful:
Updated about 2 months ago