
Configure Custom HTTP Headers for Webhooks
Send custom HTTP headers with every webhook request Shipium delivers to your endpoint.
About custom HTTP headers for webhooks
When Shipium delivers a webhook to your endpoint, it sends a standard HTTP POST request. If your endpoint requires additional headers — for example, to verify the request is coming from Shipium or to route it to the correct internal system — you can configure custom HTTP headers as part of your webhook setup in the Shipium Console.
Custom headers are configured per webhook registration. Each header you add is included in every request Shipium sends to that webhook's endpoint.
Custom headers are configured through the Shipium Console only. There is no API parameter for specifying webhook headers at this time.
Supported webhook types
Custom HTTP headers are available when registering or editing any of the following webhook types:
- Webhooks for Carrier Selection & Label Updates
- Webhooks for Tracking
- Webhooks for Billing Management
- Webhooks for Pack App Order Lifecycle (Contact your Shipium representative to configure.)
Common use case: HTTP Basic Authentication
The most common reason to configure a custom header is HTTP Basic Authentication. If your endpoint is protected by Basic Auth, it requires an Authorization header containing your credentials encoded in a specific format. Shipium must include this header in each webhook request so your endpoint can verify and accept it.
HTTP Basic Authentication uses the following header format:
Authorization: Basic <base64-encoded credentials>The <base64-encoded credentials> value is a base64 encoding of your username and password joined by a colon: username:password.
Step 1. Generate your base64-encoded credential value
Before configuring your webhook header, you need to generate the base64-encoded value for your credentials. Choose any of the following methods.
Using an AI assistant
Ask Claude or another AI assistant to encode your credentials:
"Please base64 encode the string
myusername:mypassword"
The response will return your encoded value, for example: bXl1c2VybmFtZTpteXBhc3N3b3Jk
Using a command line
On macOS or Linux:
echo -n "myusername:mypassword" | base64On Windows (PowerShell):
[Convert]::ToBase64String([Text.Encoding]::UTF8.GetBytes("myusername:mypassword"))Both commands output your encoded value directly. Note: the -n flag in the macOS/Linux command is important — it prevents a trailing newline character from being included in the encoded string, which would cause authentication to fail.
Using an online base64 encoder
Do not enter real production credentials into a public web tool. Use this method only with placeholder values for testing purposes.
Several free online base64 encoders are available if you need a quick reference during testing. Once you have your encoded value, your complete Authorization header will look like this:
| Key | Value |
|---|---|
Authorization | Basic bXl1c2VybmFtZTpteXBhc3N3b3Jk |
Step 2. Add the header in the Shipium Console
Custom headers are added during webhook creation or when editing an existing webhook. The steps are the same across all supported webhook types.
-
Navigate to the webhook registration screen for the relevant product in the Shipium Console.
-
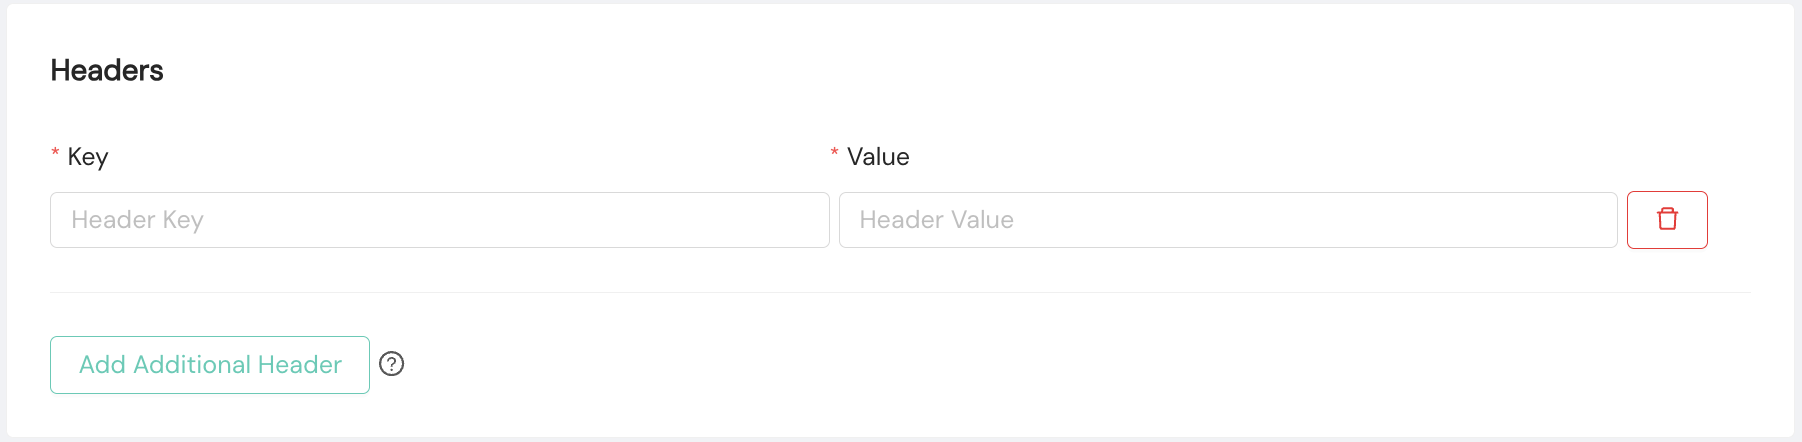
Scroll to the Headers section.

-
Select Add Additional Header. A Key field and a Value field appear.
-
Enter your header information:
- Key. The header name (e.g.,
Authorization). Use standard HTTP header naming conventions: alphanumeric characters and hyphens only, no spaces. Header keys are stored as entered — use standard casing (e.g.,Authorization, notauthorization) to ensure compatibility with your endpoint. - Value. The complete header value (e.g.,
Basic bXl1c2VybmFtZTpteXBhc3N3b3Jk)
- Key. The header name (e.g.,
-
To add more headers, select Add Additional Header again. To remove a header, select the trash icon to the right of that header row.
-
Complete the remaining webhook registration steps and select Save.
Your custom headers are now saved and will be included in every webhook request Shipium sends to your endpoint.
Additional notes
Multiple headers. You can add more than one custom header to a single webhook registration. Each header requires its own Key and Value entry.
Header value visibility. Custom header values are stored and displayed in plain text in the Shipium Console. Any user with permission to view or edit a webhook registration can see the configured header values. Treat header values containing credentials — such as encoded Basic Authentication strings — as you would any sensitive credential: share access only with users who require it, and rotate credentials if access is no longer appropriate.
Editing headers on existing webhooks. You can add, update, or remove headers at any time by navigating to your webhook in the Shipium Console and editing the registration.
Related documentation
- Shipium Webhooks
- Webhooks for Carrier Selection & Label Updates
- Webhooks for Tracking
- Webhooks for Billing Management
Resources
Your Shipium team member is available to help along the way. However, you might find these resources helpful:
Updated 5 months ago